


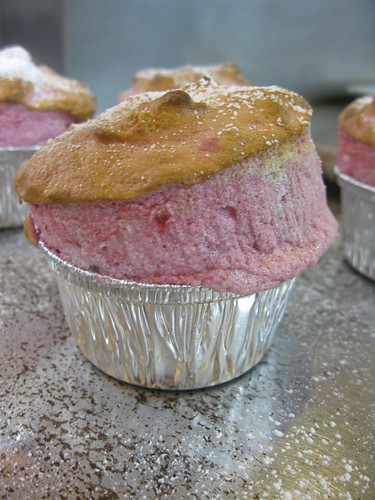
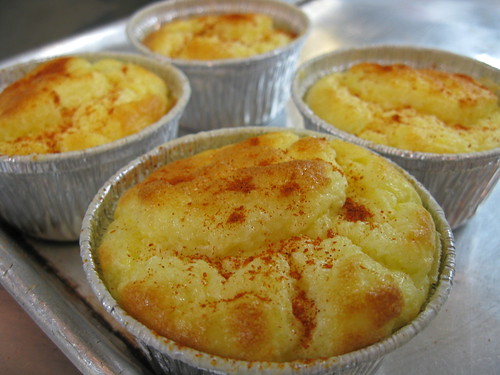
Raspberry Soufflé
It’s pastry time people and it’s a whole new ball game.
Well, actually . . . first they made us do some math. Week two of this level began with a brief look at food costing and what it takes to cost out and price recipes, as well as other factors that go into a restaurant’s business. We had to do a little math homework on pricing a recipe. I hate math, which is why I love excel. I just punched all the numbers and equations into a spreadsheet and let the work be done for me. Of course, I had experience with spreadsheets in production and not everyone else had this luxury. I kind of felt bad for my friends who sat there doing each equation one by one. However, in addition to being a whole lot easier, I figure that in an actual business situation I’d be using a computer anyways.
After our brief flirtation with math, we had a day devoted to eggs. Poached, scrambled, baked, deviled, flat omelettes, and colorless rolled omelettes — you name it, we did it to eggs. Chef even demoed a way to deep-fry an egg. No, not just pan-fried – deep-fried. I’d never seen that before. I definitely got my share of protein that day.
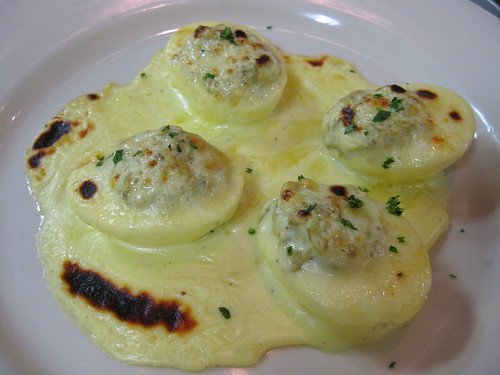
Chimay Style Stuffed Eggs - Like Deviled Eggs on Cracked
From eggs we flowed right into a week and a half of pastry. I can completely see why the curriculum would be structured with egg day directly preceeding pastry, because so much of what we do with pastries in this section is about getting comfortable with eggs and understanding how to cook them. I have several friends that feel very weird about eating eggs that are still runny, but the egg actually cooks a lot faster and at a lower temperatures than you’d think. An egg yolk begins to thicken and is fully safe to eat at 145° F (63°C), and at this point it is still pretty liquid. It is fully set at 158°F (70°C.) That is not a very big window and the cooking time between them goes really fast. The temperature you can cook it to goes up if it’s mixed with things like liquids, starches, and sugars, but the margin or error remains small. You have to learn to manipulate that yolk within that range in order to make pastry creams, certain types of cakes, custards etc, etc. If you miss the mark in either direction, the recipe will not work.
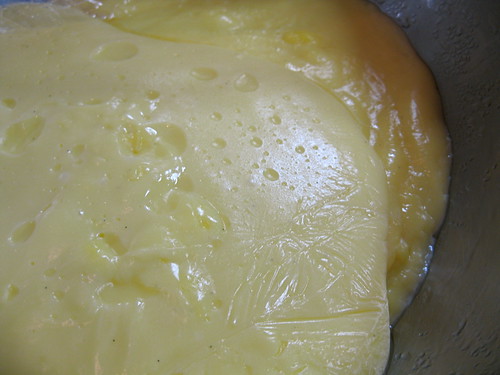
Pastry Cream
Egg whites have a wider cooking range, but they have their own problems. Many desserts require meringues which require a lot of elbow grease when you’re doing them by hand. (Chef did let us use mixers a lot of the time to spare our the arms from the exhaustion of constantly beating meringues and whipping creams.) If you’re using that meringue to puff up something like a soufflé, you better move quickly to make sure the air you just worked so hard to incorporate doesn’t go flat. But be gentle! If you go crazy stirring or hit the pan the wrong way you will likewise cause is it to deflate. My partner and I took to telling our soufflés stories of lightness and air in order to get them to rise. It worked beautifully on the chocolate soufflé, but I think we didn’t inspire our cheese soufflé to rise quite as much. Luckily, it was still very tasty.
If you’ve been following a long you might recall my rant about Hollandaise sauce and how finicky it is because it can’t be too hot or too cold, you can’t go too fast or too slow, and ingredients have to be right in proportion. A lot of pastry is just like that, and I think that’s why a lot of savory chefs dislike it. It is very precise, you have to follow directions exactly, and when you screw up it’s harder to save your dish. If fat gets into your egg whites, they’ll never rise – so you better make sure you separated that yolk out completely. If water gets into your chocolate, it will seize and get grainy and there is no coming back. If you knead your dough too much, you've created a ton of gluten and your tart shell will be tough.
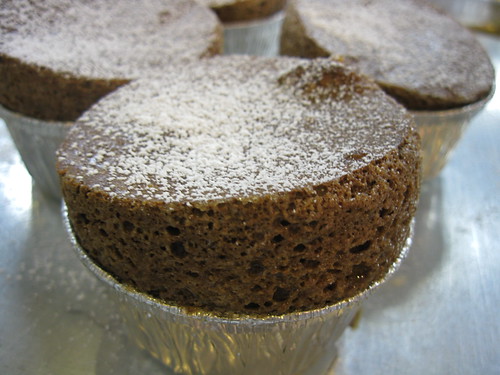
Despite my frustration with Hollandaise sauce, I don’t have as many issues with pastries. I think it may have to do partly with the fact that before I was cook, I was a baker. I baked a lot as a kid and many of the things we did during this period I did with my grandma as little girl. We often baked meringues together and a frozen soufflé we made was very similar to a frozen mousse she makes that I love.
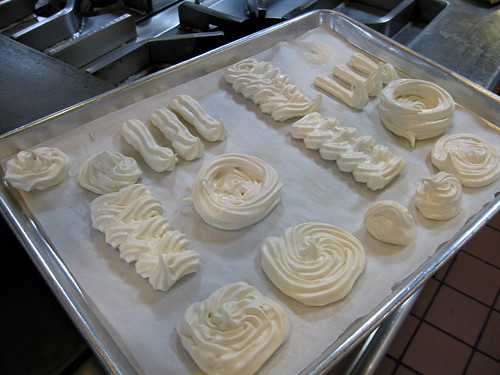
Baked meringues remind me of my grandma.
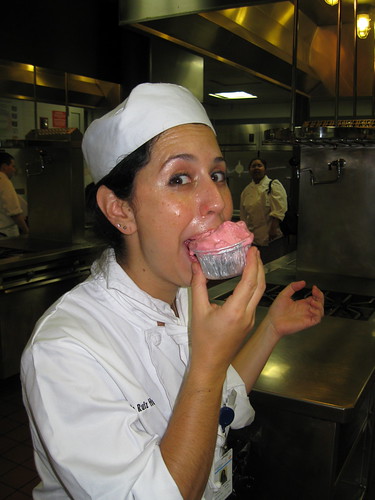
Yummy, Frozen Soufflée. Apparently it was hot in the kitchen.
Beyond the happy memories, a lot of what’s required is just getting comfortable with techniques. As with the egg yolks, a lot of other pastry ingredients require knowing and recognizing stages the ingredient moves through. For egg whites and whipped cream, you should learn to recognize what soft, firm, and stiff peaks look like. Sugar also move through stages of temperature and texture while cooking, starting with thread, to soft ball, working through several more up to hard crack. (See the temperatures and descriptions here.) Similarly, when caramelizing sugar changes in color and flavor happen within seconds.

This caramelized sugar was made for creme caramel.
I started pouring it into cup for the topping when it was at the medium,
amber color in the center. By the time I was done a minute later, it was almost black.
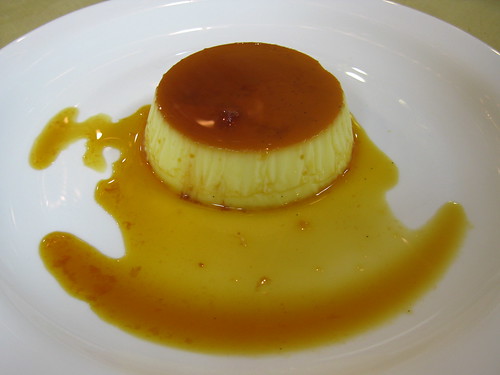
Luckily, I got all the caramel topping into the molds before the sugar over-caramelized. Delish!
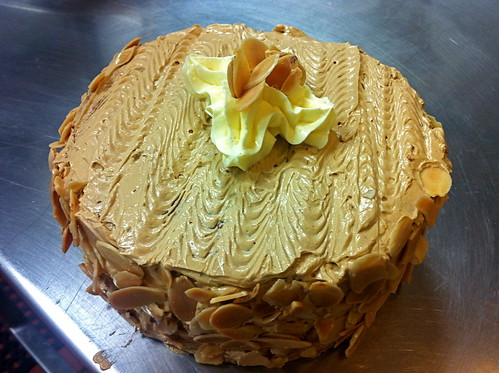
The Génoise Cake required a lot of simultaneous, finicky techniques.
Another important note is the in class we take great care to weigh all ingredients for these delicate desserts. When I’m making cookies or quick breads at home, measuring cups tend to be fine, however, exact measurements are required for things such as those soufflés and a lot of the doughs we made.
This is my super fancy scale. I accidentally bought a higher end model than I intended.
Ssssh! Don't Tell Greg.
By far, the most time consuming and tricky thing we made was puff pastry dough. It requires a time consuming and elaborate process in order to create the flaky, layered structure. If it gets too wet, it will stick to your workspace, but if it gets too dry it will crack. If you overwork it, it will be tough and rubbery and might not rise. (Actually, the key to most types of dough is to make sure to not overwork them, as that can create too much gluten.)
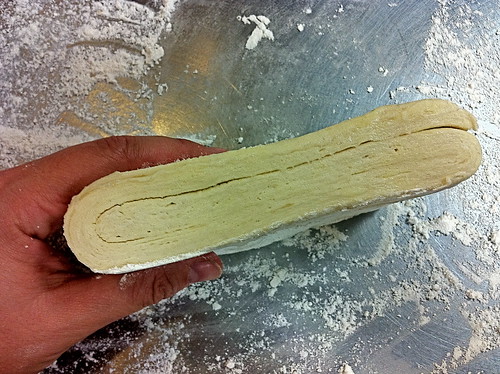
You can see the individual layers that are created through the mixing and folding process for puff pastry dough.
I think I might be an idiot savant at puff pastry, because to tell the truth, I made A LOT of mistakes. I started out by adding too much water, and later it seemed a little too dry. I had butter smoosh out it, which you definitely want to avoid, and the dough stuck quite a bit. Nonetheless, once backed my puff pastry was beautiful. I daresay, it was one of the prettiest in the class.
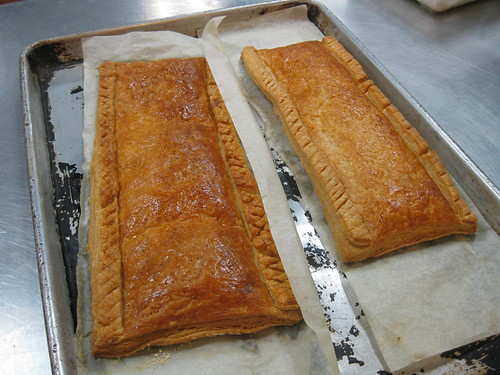
My partner and I both got really rice results with our puffy pastry.
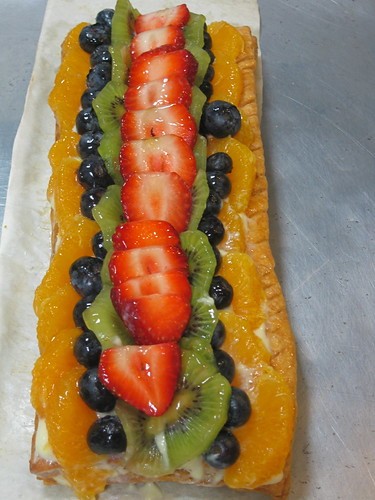
And here it is all topped with pastry cream and fresh fruit.
Which goes to show, that there might just be a little more wiggle room than we’re lead to believe. Plus, the reward for all your trouble is usually delicious.
A couple more pics just for fun. You can see even more on my flickr page:
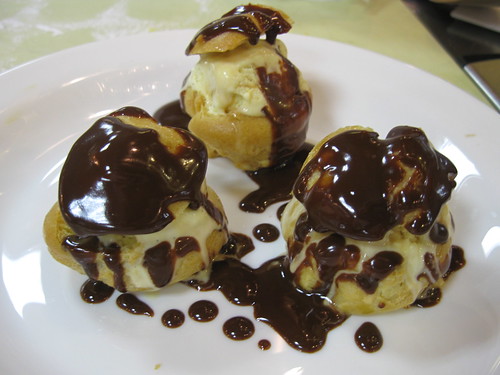
Profiteroles with Ice Cream and Chocolate Sauce
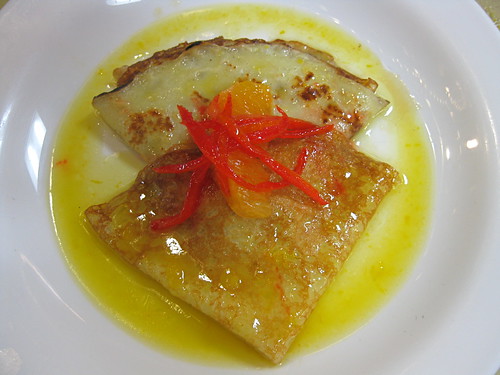
Crêpes Suzette
*****
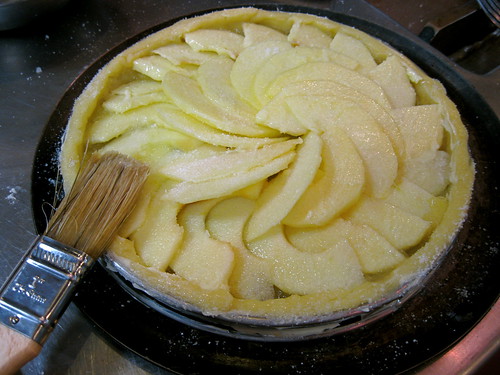
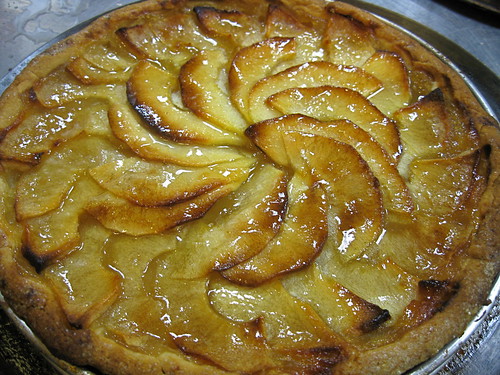
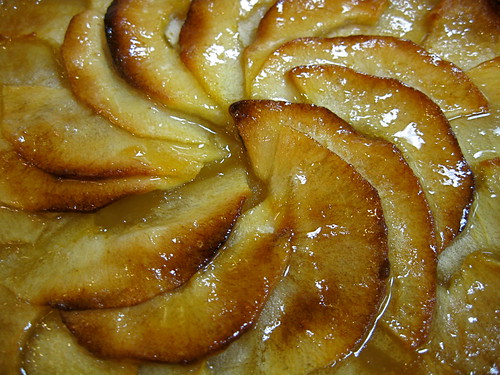
It's kind of cruel to leave you with all of these sweet images and nothing to do about it, so I’m going to pass on the recipe for the Apple Tart we made. It was one of the most beautiful things we made and one of the easiest.
Apple Tart
(Tarte Aux Pommes)
Yield: One 8-inch Tart
1 Recipe of Pâte Sucrée (below)
Butter for the flan ring and bottom
FOR THE APPLE
4-5 apples (1200 – 1500 g/ 2, 5 oz – 3 lb, 3 oz)
½ lemon
30 g (1 oz) water
50 g (2 oz) granulated sugar
FOR THE GARNISH AND FILLING (OPTIONAL)
100 g (3 ½ oz) Apricot glaze (nappage)
20 g (1 T) water
FOR THE PÂTE SUCRÉE
1. Butter a flan ring and place it on a buttered, black steel pan. Roll the dough out to a circle 3 m (1/8 inch) thick.
2. Roll the dough onto a rolling pin and unroll it over the flan ring. Make sure that there are 5 cm (2 inch) of dough left hanging over the edge of the flan ring to form a border. Press the dough snugly against the inside of the flan ring.
3. Press 1 ¼ cm (1/2 in) of overlapping dough over the edge of the ring. Using a rolling pin, roll over the ring to cut off excess dough.
4. Form the border with fingers or pinch it with pastry tweezers.
5. Refrigerate the pastry shell.
FOR THE APPLE COMPOTE
1. Peel the apples and cut them in half. Remove the cores with a melon baller or paring knife. Rub the halves with lemon. Do not let apples soak in water, which would leach out their sweetness and flavor.
2. Cut the apples into cubes and put them in a saucepan with high sides with the water and sugar. Cover the compote with a parchment-paper lid cut to the size of the pan with a small hole cut in the center, and cook over medium heat until the apples exude their juices.
3. Remove the parchment-paper lid and continue cooking, stirring frequently with a flat wooden spatula, when done. The apple compote should be slightly chunky rather than completely smooth. Remove from heat and let cool.
FOR THE GARNISH AND FILLING
1. Peel the apples for the garnish, cut them in half lengthwise, and core them. Rub the halves with lemon and slice horizontally, very evenly and thinly – no more than 3 mm (1/8 inch) thick.
2. Fill the pastry shell to three-quarters of the depth with the apple compote.
3. Arrange the apple slices closely together around the tart. There should be two rings of slices that overlap. Rush the apples with melted butter.
4. Fill in the center with apples arranged in a rosette design or in an even row. Remember the apples will shrink in the oven, so top the tart with a generous amount of them; no compote should be visible.
5. Bake the tart at 350 F (177 C) for 50 to 60 mins. The apple should bee soft and brown on the edges, and the pastry should be golden brown.
FOR THE FINISH
1. Before the tart is completely done, remove it from the oven. Take off the tart ring, and then put the tart back in the over to color the sides. Remove it from the oven again and place it on a cooling rack.
2. Put the apricot glaze in a small pan with the water, bring to a simmer, and stir with a whisk until it is completely melted.
3. Brush the top of the tart with a thin coating of the glaze.
Sweet Tart Dough
Pâte Sucrée
Yield: three 8-inch/9-inch tarts; approx. 1,000g)
125 g (4 oz) powdered sugar
250 g (9 oz) butter
3 eggs
500 g (18 oz) cake flour
½ t baking powder
By Hand
1. In the mixer fitted with the paddle attachment, cream the powdered sugar and butter until light and fluffy.
2. Add the eggs one at a time, making sure the mixture is homogeneous after each addition and before adding another egg.
3. Add the cake flour and baking powder all at once.
4. Mix slowly just to combine.
5. Wrap the dough and refrigerate it until firm.
*****
Cut and burn count: I kind of lost count of the number of times I scorched my hands throughout the week since it happened quite a bit, but I think I got 4 good burns between week 2 through the end of pastry.
Total: 9 cuts, 8 burns


No comments:
Post a Comment